

Fuelling & cooling
3rd July 2005
Ooo it's so close to firing it's frustrating! I really thought this weekend would be the one to have the V8 rumble into life. Sadly it was not to be.
The pile of jobs I had to do over the past few weeks has shrunk considerably. Starting with the battery, I ordered a longer power cable and fitted the positive side to the starter motor. On the other side I've run the cable down the bulkhead and bolted it to the chassis with the earthing strap from the engine. After reading some tips and hearing Jim's warning about making sure the engine is properly earthed I figured effectively directly connecting it to the negative lead would give me the best chance of getting it right!
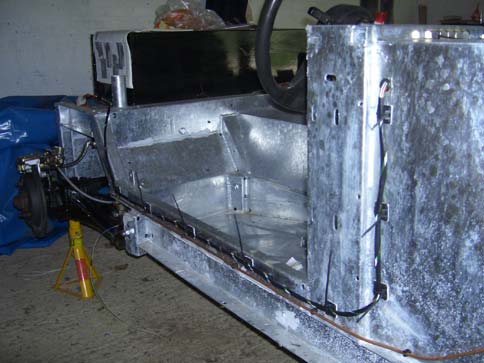
I finished fitting the fuel lines. I've opted for rubber-lined P-clips rivetted to the chassis. A tip here to anyone starting their build - run the fuel lines before you fit the rear suspension! It was a real pain in the arse trying first bend the lines and then fix them with all the other gubbins attached. In fact, I've still got one fixing that I couldn't get the rivetter in to do. Added to that was the previously genius route of the brake pipes which now got slightly in the way. I've had to run the fuel line with a small 'bump' over the brake line.
I made a couple of brackets to hold the fuel pump in the right position and attached the flexible fuel hoses and fuel filter, connecting it to the tank. The tank has two tubes to allow for a return line on those engines that need it. Mine didn't, so I blocked the spare off with a short piece of flexible hose with an M8 bolt in the end of it. The final job at this end was to extend the positive wire from the pump across to the other side where the connection into the loom is provided and crimp a ring connector to the earth wire and rivet it to the chassis. Turning the ignition on and - success! - a whirring fuel pump sucking on fresh air.
At the other end of the fuel line I connected another run of flexible hose and another fuel filter (not sure why two are necessary, but that's what Pilgrim do) ready to connect to the carb. The carb was simple to fit, just requiring four bolts to attach it to the engine. In this modern age of electronics, chips and circuit boards it's quite weird to play with a piece of proper mechanical engineering. All sorts of linkages, springs and flaps that operate each other in precise harmony. I can't wait to hear the effect of full throttle - normally only two of the four barrels operate until you really open it up when all four open wide and presumably suck most of the neighboring atmosphere into the inlet manifold.
With the carb on I had to try the air filter too. The ridiculously-sized chrome pancake looks outrageous perched on top of the engine! The filter comes with a PCV port, this requires a couple of holes to be drilled into the air filter base and then it's bolted in place. According to Jim's instructions this is connected via a hose to the flame trap on top of the engine. I haven't done this yet, but it's a simple enough job.
Finding a radiator cap to fit the Pilgrim expansion tank proved harded than it needed to be. On my first trip to Camberley Auto Factors I was told that they had 100s of different radiator caps and couldn't possibly begin to guess what a "standard fit 13psi cap" might look like. Having gone home, unbolted the tank and gone back again I got served by someone different who informed me they only sold one cap that was rated at 13psi. It turned out to be an exact fit.
The last piece of the puzzle was to connect all the various hoses for the cooling system. Getting hold of the hoses also proved to be a bit of a nightmare. The smaller hoses for the expansion tank and heater were no problem - a local shop sold them by the metre from a large reel. However the two big hoses that feed the engine cooling were very difficult to get hold of and seemingly disproportiantely expensive. The problem is that the bottom one needs to turn through 90 degrees and the top one is even more complex. Standard 38mm rubber hose won't turn through 90 degrees without collapsing so I needed to find either some convoluted hose or some hose with a bend pre-formed in it. The shop I got the other hoses from wanted a frankly unbelievable £2 per inch for convoluted hoses (a total cost in the order of £100 for the amount I needed). Pilgrim use some adapted Chevy hoses which (and I quote) "don't fit perfectly, but they're good enough". I wanted something better so after scouring the internet I came across Designation Hoses Ltd. They supply every type of hose you can think of from firemans to garden and had some convoluted type for £16 a metre. I ordered two metres and they arrived next day delivery, perfect. Fitting the hoses to the engine was easy, snaking around to the radiator as required.
Fitting the radiator itself is not quite finished. On the video you catch a glimpse of Mark Evans using two mini exhaust bobbins at the top of the radiator. Tony at Pilgrim also recommended I do this, so after ordering two from Europa I was dismayed to discover when trying to fit them this afternoon that they have a fine thread on them and I don't have any suitable nuts. My own fault for not checking I suppose, but irritating nonetheless. I was able to bolt the bottom part on however and for the time being, the top is held in place by some string so I could attach all the hoses.
That left the heater unit. This I managed to source from a friend at work who does up old Minis. He had a reconditioned one going spare from the last car he did so I took it off his hands for the sum of £15. So, we're on the home straight now ready to connect the final hoses and ARGH I've bought the wrong size to fit to the engine!! I can't explain how frustrating it was to be two hoses short of firing the engine, but by that time it was about 4pm and on a Sunday I didn't have a hope of getting the right ones. The thought did cross my mind that test firing it without any water would probably be ok, but I thought it would be safer to wait. No point buggering the engine for the sake of a few feet of hose.
I will try and get the hoses tomorrow, which means once I've worked out how to get 11 litres of water/antifreeze mix down to my garage I really will be able to fire up the engine! I've also put my order in for the body and exhaust manifolds which should arrive in a couple of weeks. Managed to score a bit of luck here, Pilgrim have just finished designing some new manifolds for the Rover V8 that give a much better flow rate (about 25bhp better in fact). They're a bit more expensive than the originals, but well worth it I reckon. Also, as of two weeks ago they've moved the seatbelt anchorage reinforcing bar in the body shell which makes fitting twin hoops much easier (something I want on mine).
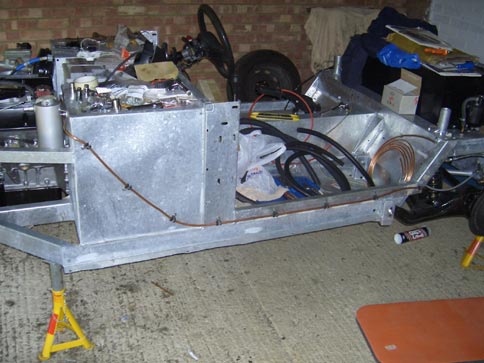
Fuel line

Pesky brake pipe
in the way
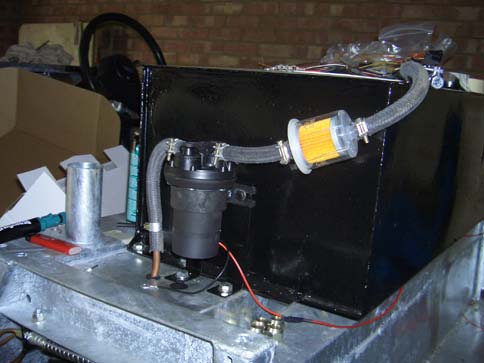
Fuel pump mounted
and ready
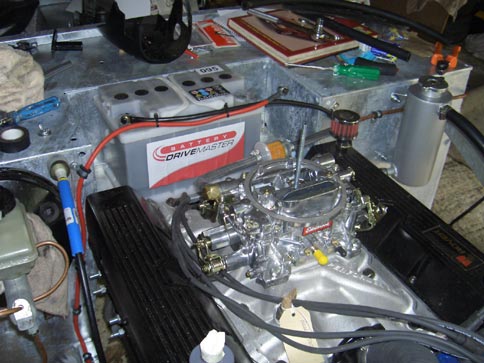
Fat carb!
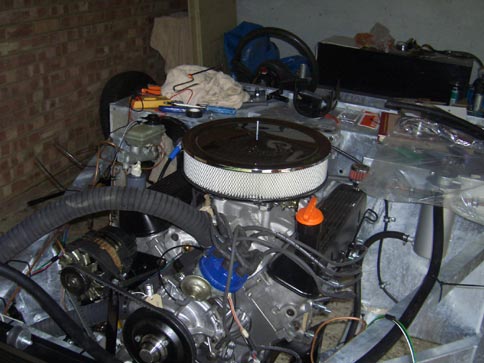
Big shiny pancake

Expansion tank
mounted
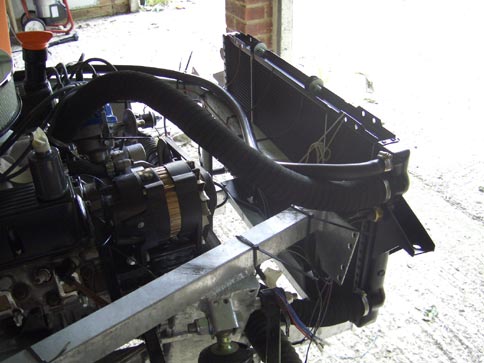
The radiator
(almost) mounted

Engine hoses
Mini heater
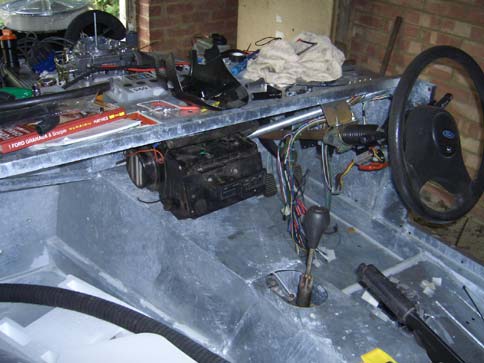
Rear part of loom
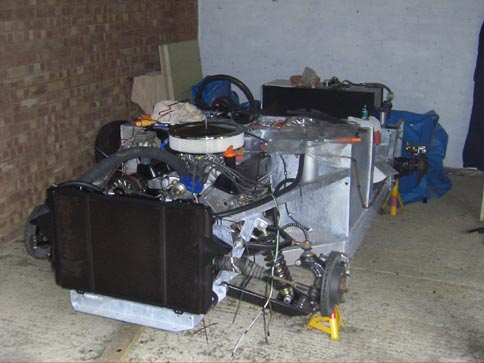
So close to running!